Creating a Glue Space Template
A Glue Space Template is a package that contains a Unity Asset Bundle for each of our supported platforms (one for Windows both desktop and VR, one for MacOS, and one shared by all Android-based standalone VR devices), along with some metadata used internally by the Glue service back end.
We have published a Unity plugin which will build the required Asset Bundle(s), create a descriptor file, and package it all together into a single .tar file you can upload into Glue. The package can be installed into an existing Unity project.
Alternatively, there is also a sample Unity project available to download here. The project includes the necessary tools pre-installed, and the appropriate rendering settings are already configured for you. This is the easiest way to get started with the space template creation tools. If you choose to start with the sample project, no additional steps are needed to begin creating your space.
Watch a video of using the tool here.
Installing the Unity plugin
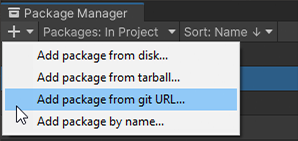
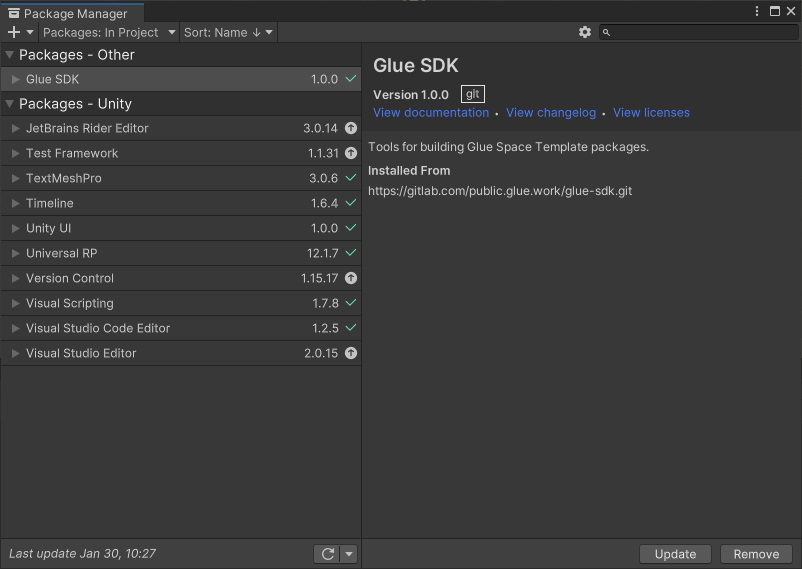
Open up Package Manager in Unity ( Window → Package manager), click on the plus symbol in the upper left corner, and select “Add package from git URL…”. Copy the following URL, paste it into the dialog, and click “Add”:
https://gitlab.com/public.glue.work/glue-sdk.git
Universal Render Pipeline
Glue uses Unity’s Universal Render Pipeline (Universal RP, or URP) for rendering. URP can be installed through the package manager. Unity also offers the URP (3D) project template with URP already installed. Make sure no render features are enabled in the URP renderer settings, as this might cause the built space to not render properly.
XR Plugin
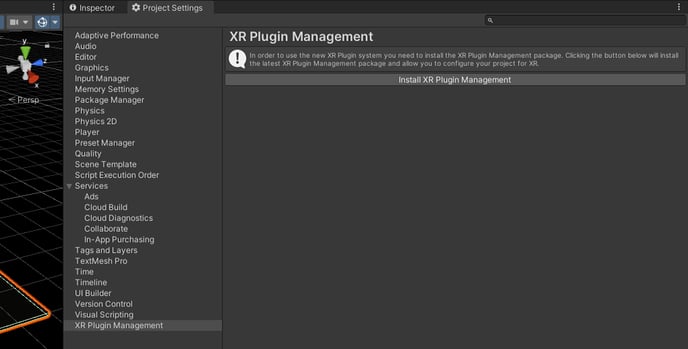
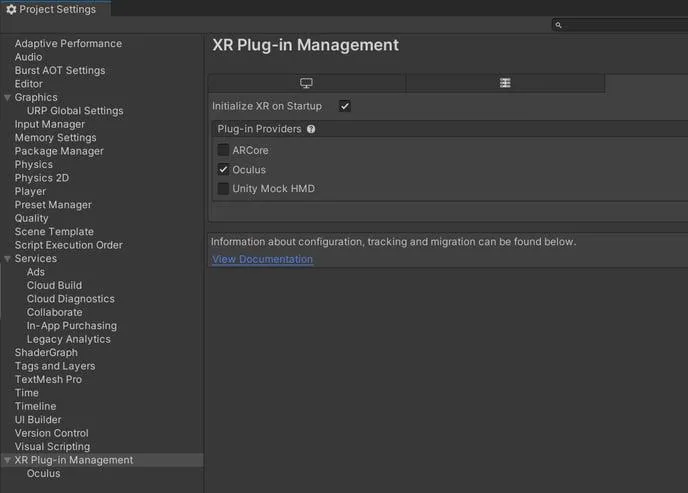
IMPORTANT! For the built space templates to work properly, some XR plugin must be installed. This can be done through the XR Plugin Management tab in project settings. It does not matter which one you select. Glue uses single pass instanced stereo rendering and having any XR plugin active in your Unity project will ensure that Unity includes all the required shader variants in the asset bundle.

Disable SRP Batching and remove SSAO for Android (Balanced) profile.
1. In Project select Assets/Settings/URP-Balanced.asset
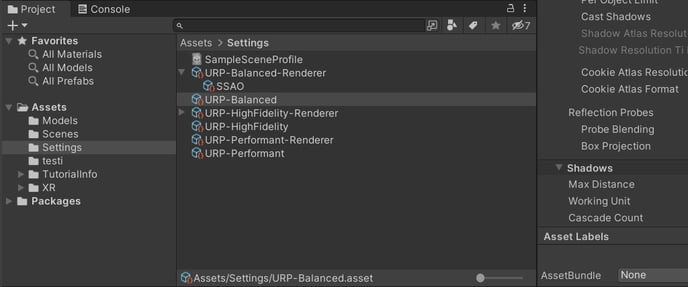
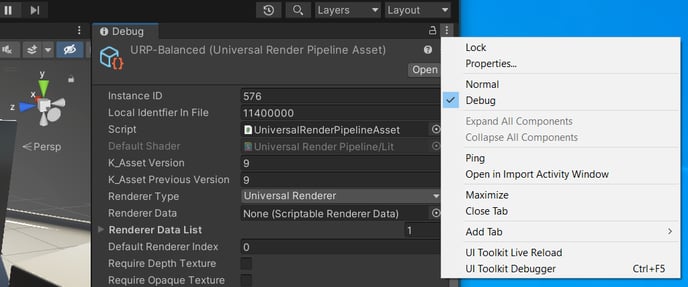
2. In Inspector choose debug mode.
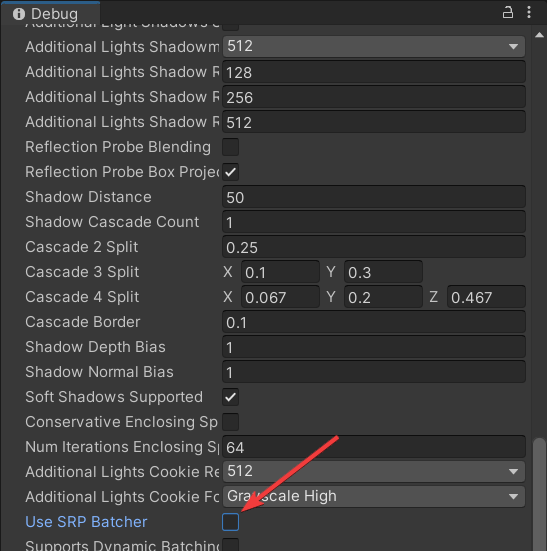
3. Scroll down and disable SRP Batcher.
4. Select Assets/Settings/URP-Balanced-Renderer.asset
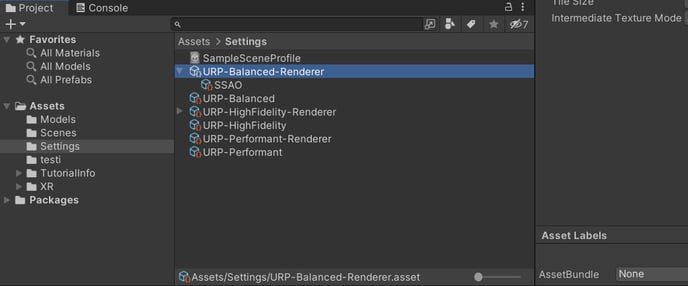
5. In Inspector expand Render Features and Render Feature Map.
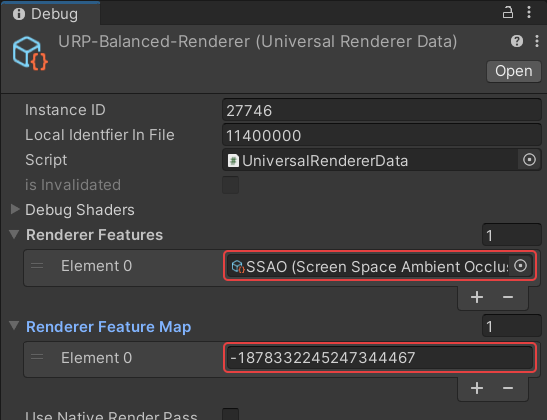
6. Remove SSAO and its reference by pushing “-” under both of the lists.
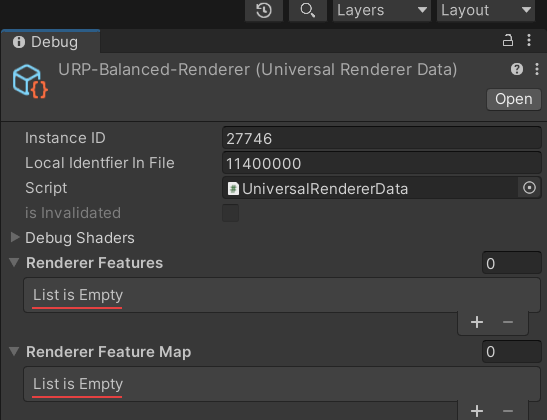
7. You can now set the inspector back in the Normal mode.
Building a Space Template package
In your Unity top-level menu bar, there is a menu “Glue” under which there’s a menu item “Space Template Builder”:
IMPORTANT! Before building a template you will need to disable any cameras in the scene. The “Space Template Builder” will give an error and stop if any are active during the building of the template.
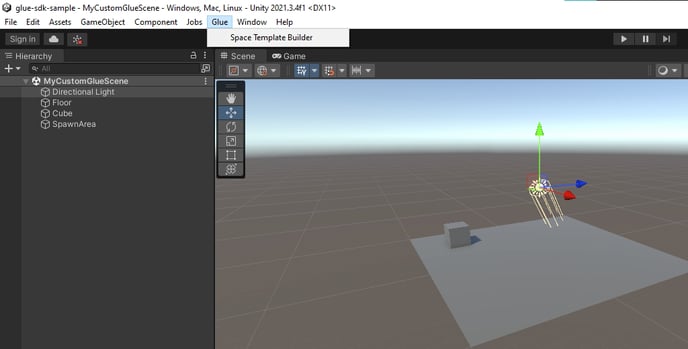
Clicking on the menu item spawns a new window:
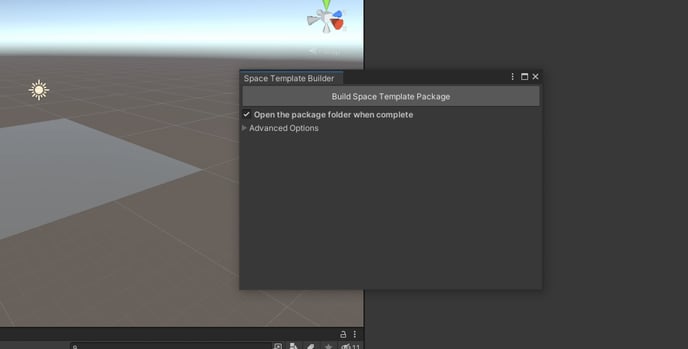
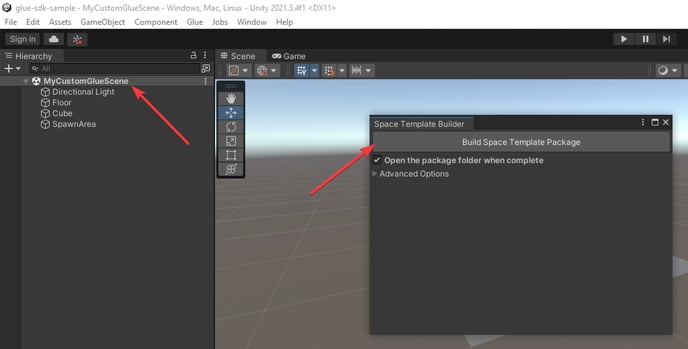
If your currently active scene in the Unity editor is the one you intend to build into a Glue Space Template package, and you have your Unity editor build targets configured for Windows, MacOS, and Android, you can just press the “Build Space Template Package” button. For more complex workflows, see the Advanced Options section of this guide.
Importing the package to Glue
1. Login to https://web.glue.work/ on your computer (you need to be either a Team moderator or Organization administrator)
2. Choose a team you want to create the template (importing) in.
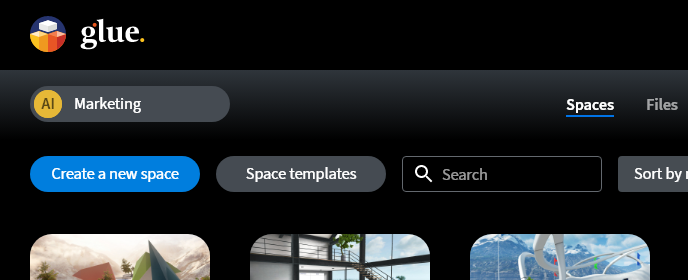
3. Creation of a new Space Template can be done under the Spaces tab by choosing either Create a new space or Manage templates tool.
4. Click + Create a new template.
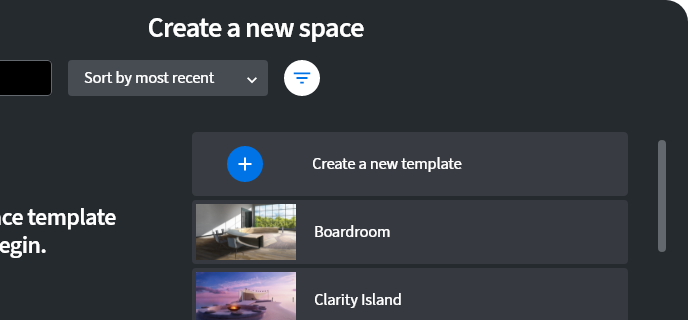
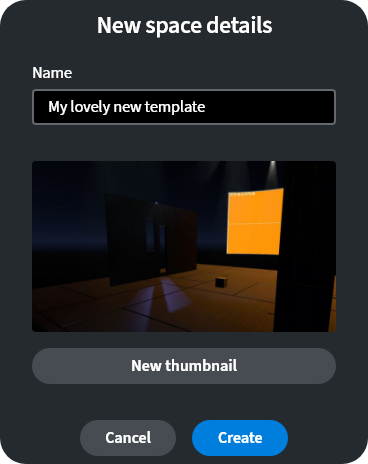
5. Fill in the information for the Template name, assign it a thumbnail image (if any), and choose a template package (your_template_name.tar) for the template.
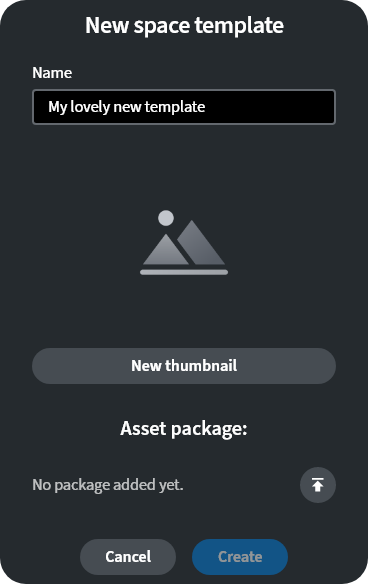
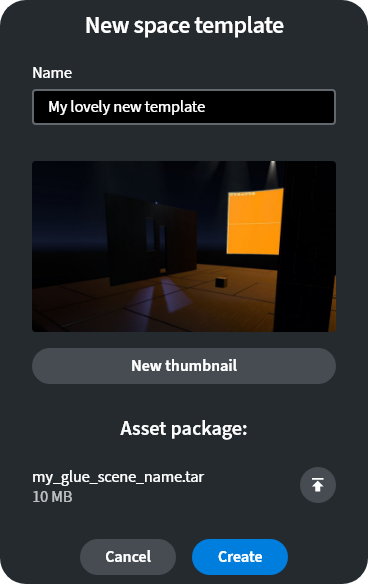
6. Once ready click Create.
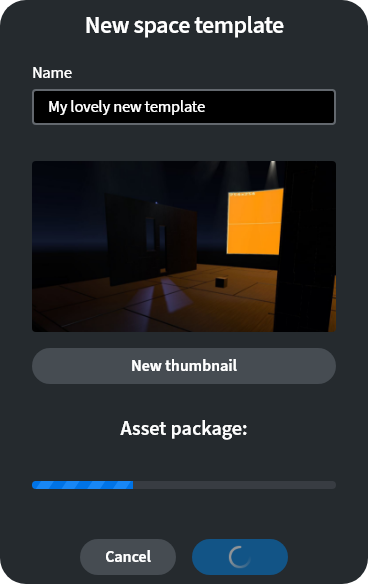
7. You can now use your new template to create a space for your team through the Create a new space tool.
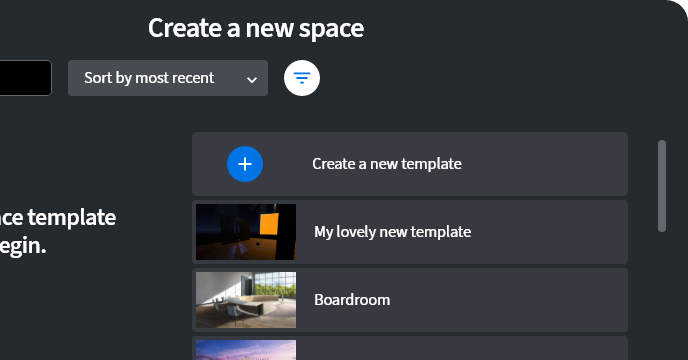
8. Click the template you want to create and fill in the name you want the space to have. After which click Create.
